Getting Started With Puppeteer
What is Puppeteer?
Puppeteer is a JavaScript / Node library which provides a high-level API to instrument Google Chrome or Chromium using the Chrome DevTools Protocol.
The Chrome DevTools Protocol allows you to instrument, inspect, and debug Google Chrome & Chromium browsers. Puppeteer wraps this protocol in a relatively easy to use library that you can use with server-side Nodejs.
Some Cool Uses
With Puppeteer, most things you can do with Google Chrome manually, you can do programmatically with Puppeteer and a bit of JavaScript, like:
- Taking screenshots (JPG/PDF) of webpages
- Scrape data from a webpage and turn the information into an API
- Build a test suite to test web app interaction
- Automate performance testing by generating traces viewable in the Timeline Viewer
Personally, I’ve been building a grocery shopping bot.
Codelab
We are going to walkthrough the process of bootstrapping a new Nodejs + Puppeteer project, covering the basics of Puppeteer, then finally turn the Google Developers Codelabs page into a queryable API.
Prerequisites
- Have internet access
- Have Nodejs & NPM installed
- Basic terminal experience
- Basic Nodejs / JavaScript / Async-Await-Promises knowledge
Bootstrapping
First things first, lets initialize our project by creating the folder to hold our source code and initialize our Nodejs project.
mkdir io19-codelab-bootstrap
cd io19-codelab-bootstrap
npm init
While running npm init feel free to accept all of the defaults by pressing enter.
Next, let’s pull down our puppeteer dependency.
npm install -s puppeteer
This command installs Puppeteer & downloads the accompanying version of Google Chromium (the open source web browser that Google Chrome is based on). If you already have Google Chrome installed, you can instead install puppeteer-core which excludes Chromium. You will have the additional step of pointing Puppeteer to the location of your locally installed version of Google Chrome (more info here).
Finally, lets create index.js, which will be our entry point into our app.
touch index.js
Open index.js and add the following contents.
'use strict';
const puppeteer = require('puppeteer');
Our project has now been bootstrapped.
Puppeteer Basics
Getting started with Puppeteer is rather straightforward. You start using it like you would start using Google Chrome.
A quick aside: Puppeteer uses Promises all throughout it’s API. This means you can chain Puppeteer API calls together like:
puppeteer.launch()
	.then(browser => browser.newPage())
	.then(page => page.goto("https://google.com"));
Or use Await/Async:
(async () => {
	let browser = await puppeteer.launch();
	let page = await browser.newPage();
	await page.goto("https://puppethero.com");
})();
I prefer Await/Async so this tutorial will use Await/Async in the examples. So in index.js, add the following:
(async () => {
	/* our bootstrapped Puppeteer code will go here */
})();
Start the browser:
let browser = await puppeteer.launch();
This starts an instance of Google Chrome and connects to it using CDP (Chrome DevTools Protocol)via a WebSocket. By default, Google Chrome starts in “headless” mode, which means it’s running in the background with no UI present. You can start the browser with a UI with:
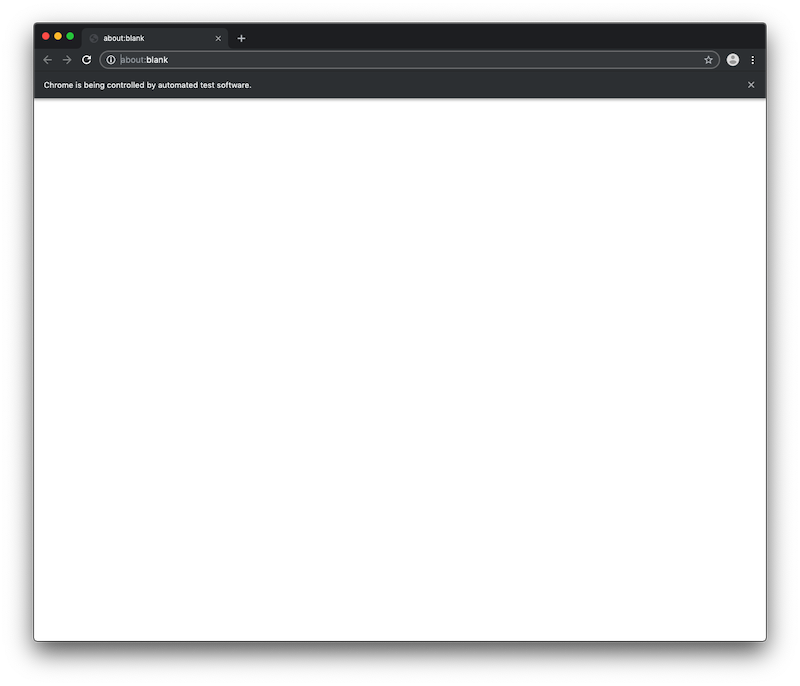
let browser = await puppeteer.launch({ headless: false });
You should see an instance of the browser start, with a single tab open.
I’m going to tweak the launch parameters. I’m going to specify a larger viewport so things look more correct when looking at Chrome.
let browser = await puppeteer.launch({
	headless: false,
	defaultViewport: {
		width: 1280,
		height: 768,
		isLandscape: true
	},
	args: [
		`--window-size=1280,768`
	],
});
Let’s open a new tab:
let page = await browser.newPage();
If you are running in headless mode, you should see a new tab open.
Let’s open a web page:
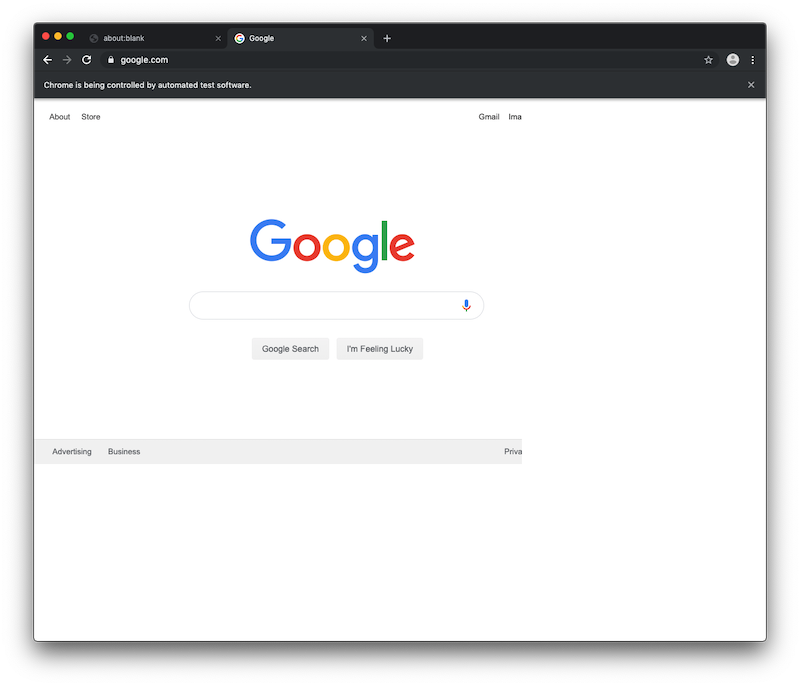
await page.goto('https://google.com');
You should now see the Google homepage loaded in the browser.
Let’s take this a few steps further and execute a Google Search.
let searchBox = await page.$('#tsf > div:nth-child(2) > div > div.RNNXgb > div > div.a4bIc > input');
let searchButton = await page.$('#tsf > div:nth-child(2) > div > div.FPdoLc.VlcLAe > center > input[type=submit]:nth-child(1)');
await searchBox.type('Avengers Endgame reviews NO SPOILERS!');
await searchButton.click();
There are a few things going on here. We are using a function, page.$(/* css selector */) that returns an ElementHandle object defined by the given CSS selector. An ElementHandle is a reference to an object in the DOM. In the examples above, we get references to the search box and the search button on Google’s homepage. Once you have an ElementHandle you can do a bunch of things like enter some text, click it, take a screenshot, get some text, etc.
You may be asking yourself how did I get the CSS selector for the search box and buttons. Chrome DevTools in a really useful resource. I right-clicked on an HTML element (ie. the search box), and selected “Inspect”. This open Chrome DevTools and takes me directly to the element in HTML source code. Right-clicking the source of the HTML element and selecting Copy > Copy selector will get you everything you need.
Let’s see if we can access the title of the search result. Using the CSS selector trick, we evaluate a JavaScript function on an element referred to by the CSS selector with the page.$eval() function.
let title = await page.$eval('#rso > div:nth-child(3) > div > div:nth-child(1) > div > div > div.r > a > h3', element => element.innerHtml);
console.log(title);
We get the title using page.$eval because the ElementHandle object provides no way of getting the text.
What if we also want to get the link the first search result refers to:
let link = await page.$eval('#rso > div:nth-child(3) > div > div:nth-child(1) > div > div > div.r > a', element => element.href);
console.log(link);
Executing the script one last time, we should see Chrome start and execute the automated search. The console should look something like:
evan$ node bootstrap.js
'Epic on every level' – readers' Avengers: Endgame reviews with ...
https://www.theguardian.com/film/2019/apr/29/epic-on-every-level-readers-avengers-endgame-reviews-with-spoilers
Now that we are all Puppeteer experts, let’s get to the project.
The Project
As stated before, we will turn the Google Developers Codelabs page into a queryable API. I’ve already built the API portions of our project that allow us to make RESTful calls to our API. We just need to implement the pieces involving Puppeteer.
If you haven’t already, clone the skeleton Nodejs project.
git clone git@github.com:emuneee/io19-puppeteer-codelab.git
cd io19-puppeteer-codelab
Run NPM install to download the dependencies.
npm install
If everything went according to plan, you should be able to the run the app with:
node .
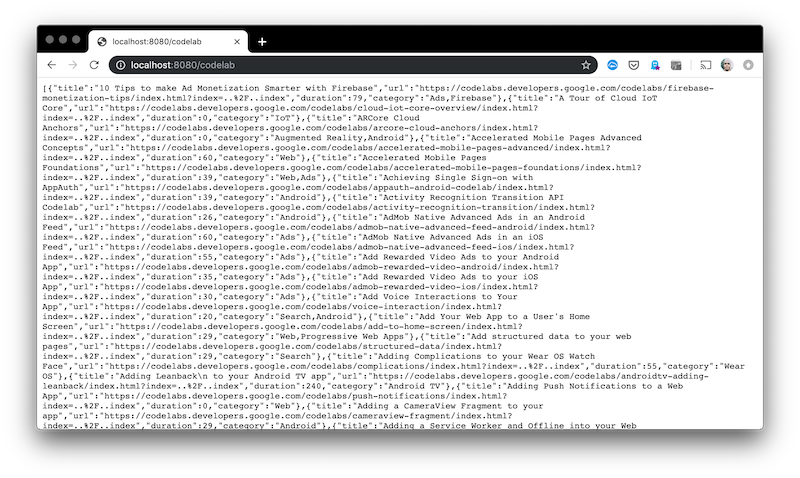
Open a web browser and navigate to http://localhost:8080/codelab. You should see:
{"title":"This is just a title","duration":"79","category":"IoT","url":"http://google.com/linktocodelab"}
The entire app lives in index.js. There is a basic implementation of an API (using Express). We will be making all of our changes to async function search(query).
There are a few steps we’ll need to take here:
- Start Chrome.
- Load the Google Developer Codelabs page
- For each codelab card, pull out the title, category, duration, and codelab URL.
Let’s start Chrome, by adding the following code to the beginning of search. You can disable headless mode if you’d like.
let browser = await puppeteer.launch();
Now, open a new tab and navigate to Google Developers Codelabs.
let page = await browser.newPage();
await page.goto(CODELAB_URL);
At this point, let’s launch the app again and navigate to http://localhost:8080/codelab in a web browser. It will load the same dummy data as before, but should take longer because it’s opening a new Chrome instance and loading the codelabs webpage.
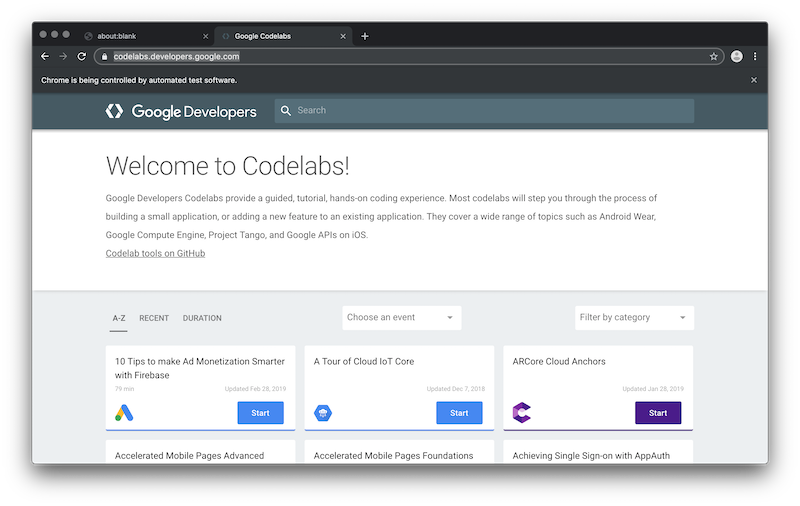
Let’s examine the codelabs page a bit. There is a header, a section for filters, the codelabs, and a footer. All of the content we want for the API is in codelabs section below the filters section. Opening Chrome DevTools, that codelabs section is contained in a card-sorter HTML object with id cards.
<card-sorter id="cards" class="site-width">
...
</card-sorter>
The CSS selector for this element is card-sorter#cards. Typing the following into the Chrome DevTools console should highlight the codelabs section and print out the object.
$('card-sorter#cards');
Inside card-sorter#cards is a list of <a> objects, each representing one codelab.
<a href="https://codelabs.developers.google.com/codelabs/firebase-monetization-tips/index.html?index=..%2F..index" class="codelab-card category-ads" data-category="Ads,Firebase" data-title="10 Tips to make Ad Monetization Smarter with Firebase" data-duration="79" data-updated="2019-02-28T01:39:33Z" data-tags="devfest18,io2018,kiosk,tag-ads,tag-firebase,web" data-pin="">
	...
</a>
As we see, all of the data we need is stored in attributes. Let’s get references to all of them and set up a for loop to iterate over each card using page.$$(). page.$$() is similar to page.$() but instead of returning a single ElementHandle object it returns an array of ElementHandle objects.
let cardHandles = await page.$$('#cards > a');

for (let i = 0; i < cardHandles.length; i++) {
	let cardHandle = cardHandles[i];
}
Finally, lets parse the data out of the attributes for each card. Attributes are not available on the ElementHandle object, so we’ll need to use page.evaluate(). This function evaluates a JavaScript function in the context of the page. You can pass an argument in as the 2nd parameter. Our function will be retrieving attributes from the ElementHandle object we pass in the 2nd argument. For example, to get the link to the codelab the card is referring to:
let url = await page.evaluate(element => element.getAttribute('href'), cardHandle);
Let’s retrieve the rest of the attributes and push them onto the results array.
let codelab = await page.evaluate(element => {
	return {
		title: element.getAttribute('data-title'),
		url: element.getAttribute('href'),
		duration: element.getAttribute('data-duration'),
		category: element.getAttribute('data-category')
	};
}, cardHandle);
results.push(codelab);
Now let’s restart the server, then visit http://localhost:8080/codelab in the browser.
This is what my search function ended up as:
async function search(query) {
    let results = [];

    let browser = await puppeteer.launch();
    let page = await browser.newPage();
    await page.goto(CODELAB_URL);
    let cardHandles = await page.$$('#cards > a');

    for (let i = 0; i < cardHandles.length; i++) {
        let cardHandle = cardHandles[i];
        let codelab = await page.evaluate(element => {
            return {
                title: element.getAttribute('data-title'),
                url: element.getAttribute('href'),
                duration: parseInt(element.getAttribute('data-duration')),
                category: element.getAttribute('data-category')
            };
        }, cardHandle);
        results.push(codelab);
    }

    // filter and return results
    return results.filter(codelab => {

        if (query.filter && query.query) {
            if (query.filter === 'title' || query.filter === 'category') {
                return codelab[query.filter].toLowerCase().indexOf(query.query.toLowerCase()) > -1;
            } else if (query.filter === 'duration_lt') {
                return codelab['duration'] < query.query;
            } else if (query.filter === 'duration_gt') {
                return codelab['duration'] > query.query;
            }
        }
        return true;
    });
}
The complete solution is available on GitHub.
You can also try filtering the data: http://localhost:8080/codelab?category=web.
Conclusion
As you can see, Puppeteer enables you to do some cool types of automation with Google Chrome. This codelab just scratches the surface of what you can do with it. I recommend you grab your drink of choice, block off about 30 minutes, and explore Puppeteer’s expansive API @ pptr.dev.
I’m interested to see what you all come up with!
🧇